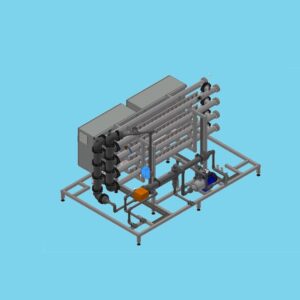
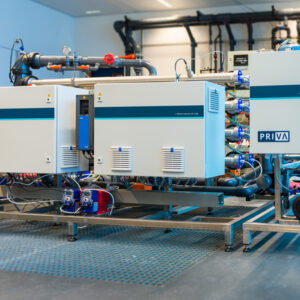
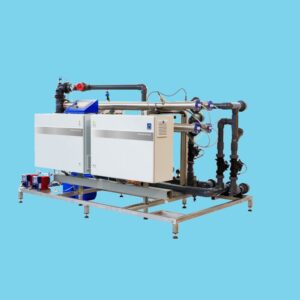
How to replace an UV lamp of a Priva Vialux M-line or E-line
Step by step explanation on how to replace the UV lamp of your Priva Vialux
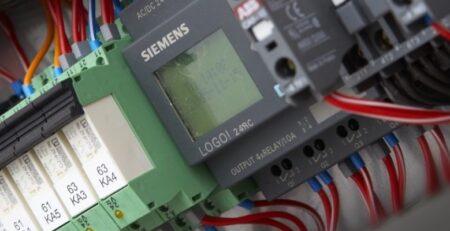
Warning: Before you start maintenance, the system must be disabled. Important! Switching off the main switch is only permitted in agreement with the manufacturer. When the main switch is switched off, the entire system is deactivated!
Make sure to read the instructions in the description for more information!
Step by step explanation on how to replace the UV lamp of your Priva Vialux
Warning: Before you start maintenance, the system must be disabled. Important! Switching off the main switch is only permitted in agreement with the manufacturer. When the main switch is switched off, the entire system is deactivated!
Make sure to read the instructions in the description for more information!
STEP 1
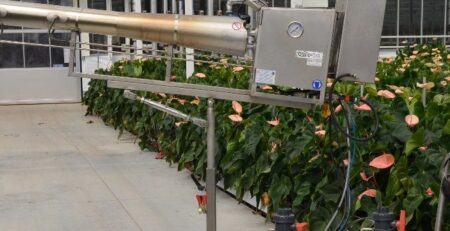
The UV lamp of a Priva Vialux M-Line or E-Line needs to be replaced every 12.000 burning hours or when the lamp is defective.
 (89)")
STEP 2
Get the instruction card from the delivered package.
 (90)")
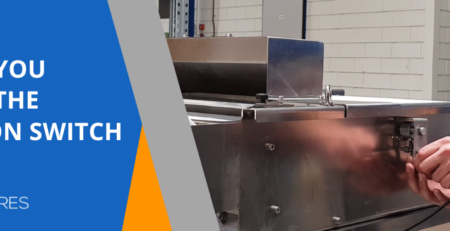
STEP 3
Turn off the main switch and ensure that the water supply is cut off.
 (91)")
STEP 4
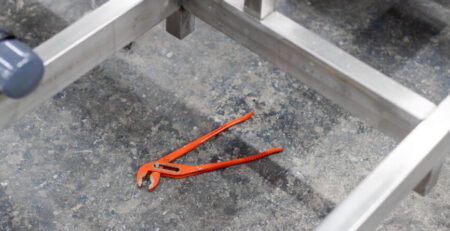
Loosen the two screws with the supplied 2,5mm hex socket key.
 (92)")
STEP 5
Pull carefully on the cable gland and slide the UV lamp of the Priva Vialux M-Line or E-Line out a little.
 (93)")
STEP 6
Loosen the screw at the lamp connector a little and carefully pull the lamp from the connector. Water can still flow out of the lamp connector. Therefore, hang it over the tube so that no water can get into the electronics.
 (94)")
STEP 7
Slide-out the used UV lamp and lay it down, preferably on a surface where it cannot break. Make sure that you recycle the lamp at your local waste disposal site.
 (95)")
STEP 8
Put on the supplied cotton gloves and remove the new UV lamp from its packaging. Make sure that the new UV lamp does not come into contact with your skin.
Note that the lamp in tube one should always be the lamp with the most burning hours. Therefore, always place the new lamp in one of the other tubes and make sure the lamp with the most burning hours is placed back in tube one.
 (96)")
STEP 9
Place the UV lamp back by letting the two wires run along the bottom of the lamp and make sure that the side without the pins is inserted first.
 (97)")
STEP 10
Carefully attach the UV lamp to the connector and tighten the screw until it is hand-tight.
 (38)")
STEP 11
Close the UV chamber and tighten the screws at the blue cover.
 (98)")
STEP 12
Reset the burning hours of the tube with the new UV lamp back to 0 in the process computer and fill in the right burning hours for the UV lamp in tube one.
 (99)")
STEP 13
Re-open the water supply and turn the main switch back on.